Accessing your Raspberry Pi remotely from anywhere using Windows 10 has become an essential skill for modern tech enthusiasts and professionals alike. Whether you're managing a home server, monitoring IoT devices, or running a headless Raspberry Pi setup, knowing how to connect to your Pi remotely can significantly enhance your productivity and convenience. In this guide, we will walk you through the steps to set up remote access to your Raspberry Pi from a Windows 10 machine.
Remote access to Raspberry Pi offers numerous benefits, including the ability to manage your projects from different locations, troubleshoot issues without physical access, and even automate tasks efficiently. By following this guide, you will learn how to configure your Raspberry Pi and Windows 10 system to ensure seamless and secure remote connections.
Whether you're a beginner or an advanced user, this article is designed to provide you with all the necessary information to set up remote access successfully. We'll cover everything from basic configurations to advanced security measures, ensuring that your Raspberry Pi remains both accessible and protected.
Table of Contents
- Introduction to Remote Access
- Preparation for Remote Access
- Setting Up SSH on Raspberry Pi
- Configuring VNC for Graphical Access
- Port Forwarding for External Access
- Using Dynamic DNS for Easy Access
- Enhancing Security for Remote Connections
- Common Issues and Troubleshooting
- Alternative Methods for Remote Access
- Conclusion and Next Steps
Introduction to Remote Access
Remote access refers to the ability to connect to and control a computer or device from a different location. In the context of Raspberry Pi, remote access allows you to manage your Pi without needing to be physically present near the device. This is particularly useful for projects that require constant monitoring or for users who frequently work on the go.
Windows 10 provides several tools and applications that make remote access possible, including SSH clients and VNC viewers. By combining these tools with proper network configurations, you can access your Raspberry Pi securely from anywhere in the world.
Preparation for Remote Access
Before diving into the setup process, it's important to ensure that your Raspberry Pi and Windows 10 machine are properly prepared. Here are the key steps:
- Ensure your Raspberry Pi is running the latest version of Raspberry Pi OS.
- Connect your Raspberry Pi to a stable internet connection.
- Set up a static IP address for your Raspberry Pi to avoid connection issues.
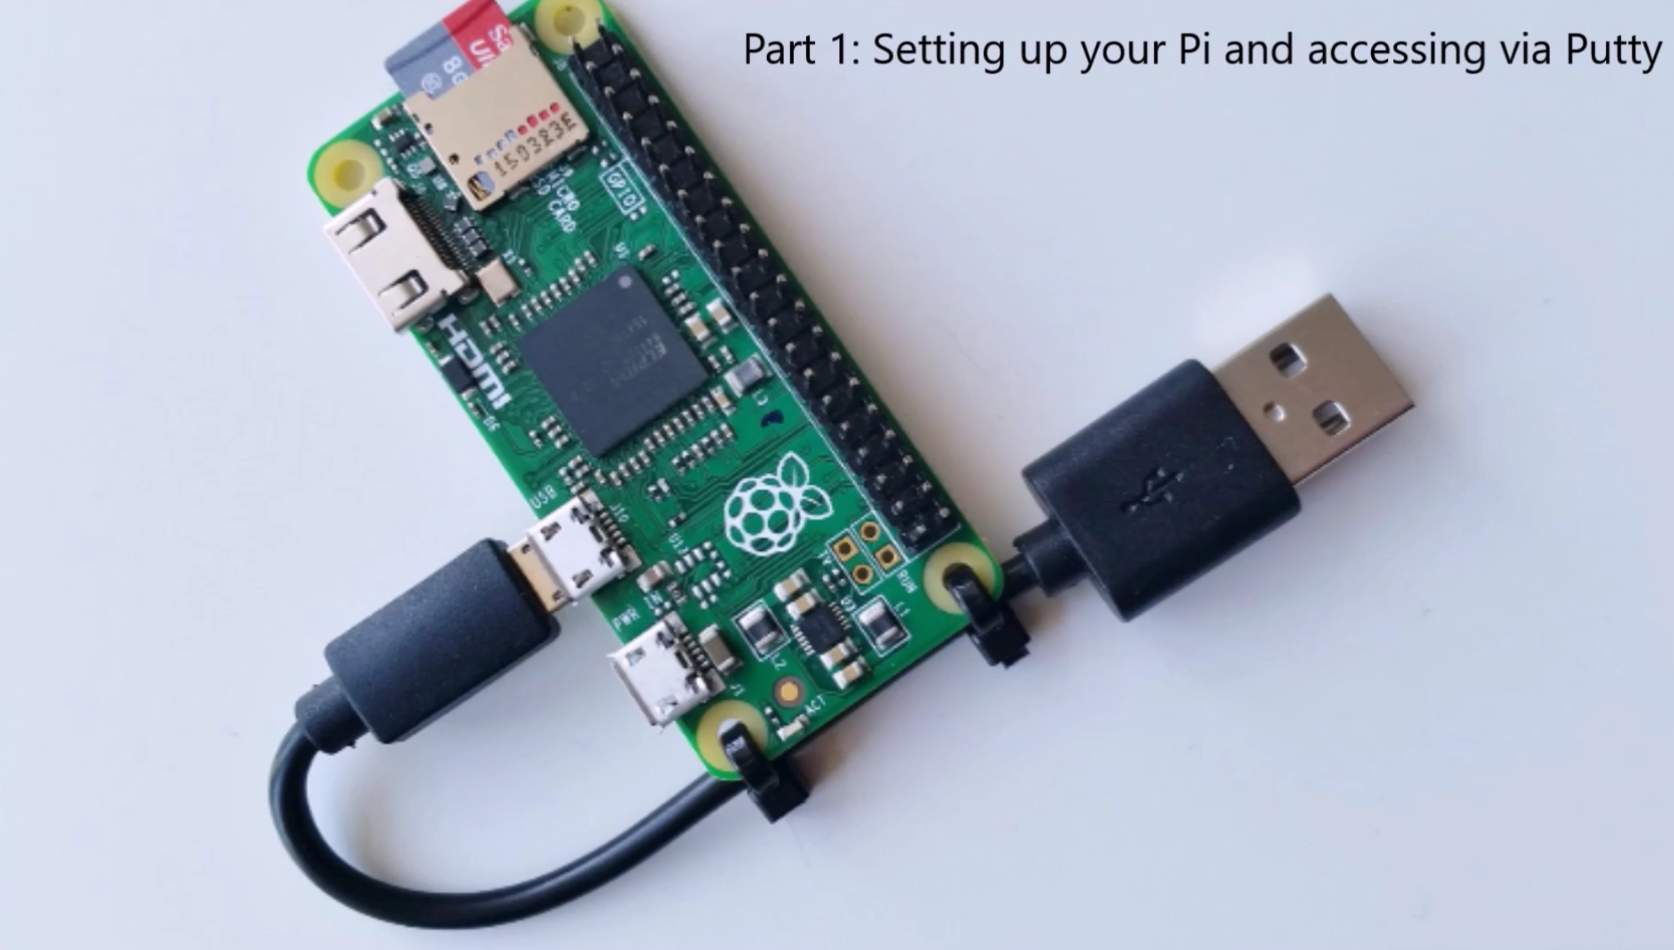
- Install necessary software on your Windows 10 machine, such as PuTTY for SSH or VNC Viewer for graphical access.
Checking Your Raspberry Pi Setup
Before proceeding, verify that your Raspberry Pi is functioning correctly. You can do this by accessing the device locally and ensuring that all services are running as expected.
Setting Up SSH on Raspberry Pi
SSH (Secure Shell) is one of the most popular methods for remotely accessing Raspberry Pi from Windows 10. It allows you to connect to the command-line interface of your Pi securely.
To enable SSH on your Raspberry Pi:
- Open the Raspberry Pi Configuration tool by typing `sudo raspi-config` in the terminal.
- Navigate to the "Interfacing Options" menu and select "SSH".
- Choose "Enable" to activate the SSH service.
- Reboot your Raspberry Pi to apply the changes.
Connecting via SSH from Windows 10
Once SSH is enabled on your Raspberry Pi, you can connect to it from your Windows 10 machine using an SSH client like PuTTY. Simply enter the IP address of your Raspberry Pi and use your login credentials to establish the connection.
Configuring VNC for Graphical Access
While SSH provides command-line access, VNC (Virtual Network Computing) allows you to access the graphical desktop of your Raspberry Pi remotely. This is particularly useful for projects that require a visual interface.
To set up VNC on your Raspberry Pi:
- Install the RealVNC server by running `sudo apt-get install realvnc-vnc-server` in the terminal.
- Enable the VNC service through the Raspberry Pi Configuration tool.
- Download and install the VNC Viewer application on your Windows 10 machine.
- Enter the IP address of your Raspberry Pi in the VNC Viewer to connect.
Tips for Optimizing VNC Performance
To ensure smooth VNC performance, consider adjusting the resolution and color settings in the VNC Viewer. Additionally, using a wired internet connection can help reduce latency and improve the overall experience.
Port Forwarding for External Access
By default, your Raspberry Pi is accessible only within your local network. To access it from outside your home network, you need to configure port forwarding on your router.
Here are the steps to set up port forwarding:
- Log in to your router's admin panel using its IP address.
- Locate the port forwarding section and create a new rule.
- Specify the port numbers for SSH (22) or VNC (5900) and link them to the IP address of your Raspberry Pi.
- Save the settings and test the connection from an external network.
Verifying Port Forwarding
After setting up port forwarding, use an online port checker tool to verify that the specified ports are open and accessible from the internet.
Using Dynamic DNS for Easy Access
Your home internet connection likely uses a dynamic IP address, which can change periodically. To avoid the hassle of updating your Raspberry Pi's IP address manually, you can use a Dynamic DNS (DDNS) service.
Popular DDNS providers include No-IP, DuckDNS, and Dynu. These services assign a static domain name to your Raspberry Pi, making it easier to access from anywhere.
Setting Up Dynamic DNS
Follow these steps to configure Dynamic DNS for your Raspberry Pi:
- Create an account with a DDNS provider and register a domain name.
- Install the DDNS client software on your Raspberry Pi and link it to your account.
- Update your router settings to automatically send IP address updates to the DDNS service.
Enhancing Security for Remote Connections
Security should always be a top priority when setting up remote access to your Raspberry Pi. Here are some best practices to protect your device:
- Use strong, unique passwords for your Raspberry Pi and avoid using default credentials.
- Enable two-factor authentication (2FA) for added security.
- Regularly update your Raspberry Pi OS and installed software to patch vulnerabilities.
- Consider using a firewall to restrict unauthorized access.
Securing SSH Connections
To further secure SSH connections, you can disable password authentication and use SSH keys instead. This method provides a higher level of security by requiring a private key to establish a connection.
Common Issues and Troubleshooting
Even with careful preparation, you may encounter issues when setting up remote access to your Raspberry Pi. Here are some common problems and their solutions:
- Unable to Connect via SSH: Verify that the SSH service is enabled and check the IP address of your Raspberry Pi.
- VNC Connection Fails: Ensure that the VNC server is running and that the correct port is forwarded on your router.
- Dynamic DNS Not Updating: Check the configuration of your DDNS client and ensure that your router supports dynamic DNS updates.
Seeking Help
If you're unable to resolve an issue on your own, consider reaching out to online forums or communities dedicated to Raspberry Pi users. These platforms can provide valuable insights and solutions from experienced enthusiasts.
Alternative Methods for Remote Access
In addition to SSH and VNC, there are several alternative methods for accessing your Raspberry Pi remotely:
- TeamViewer: A versatile remote access tool that supports both command-line and graphical interfaces.
- Remote Desktop Protocol (RDP): A Windows-native protocol that allows you to access the desktop of your Raspberry Pi.
- Web-Based Interfaces: Some applications and services provide web-based interfaces that can be accessed through a browser.
Evaluating the Best Option
Choose the method that best suits your needs based on factors such as ease of setup, performance, and security requirements.
Conclusion and Next Steps
Accessing your Raspberry Pi from anywhere on Windows 10 is a powerful capability that can enhance your productivity and convenience. By following the steps outlined in this guide, you can set up secure and reliable remote access using SSH, VNC, or other methods.
We encourage you to experiment with different tools and configurations to find the setup that works best for you. Don't forget to implement robust security measures to protect your Raspberry Pi from unauthorized access.
Feel free to leave a comment below if you have any questions or suggestions. Additionally, consider exploring our other articles for more tips and tutorials on Raspberry Pi and related technologies.